Outdoor faucets are a very important part of any household. They are essential for watering gardens, washing cars and other outdoor tasks. Unfortunately, outdoor faucets can sometimes become broken or leaky, leading to a variety of problems.
Reasons for a Broken or Leaking Outdoor Faucet
There are several possible reasons why an outdoor faucet might be broken or leaking. The most common causes are:
- Age and wear and tear – over time, outdoor faucets can become worn and parts can become brittle or damaged.
- Frozen pipes – during cold weather, water in outdoor pipes can freeze, causing them to expand and potentially crack.
- Poor installation – if the outdoor faucet was not installed properly, it can lead to leaks and other issues.
Signs of a Broken or Leaking Outdoor Faucet
There are several signs that indicate a broken or leaking outdoor faucet. These include:
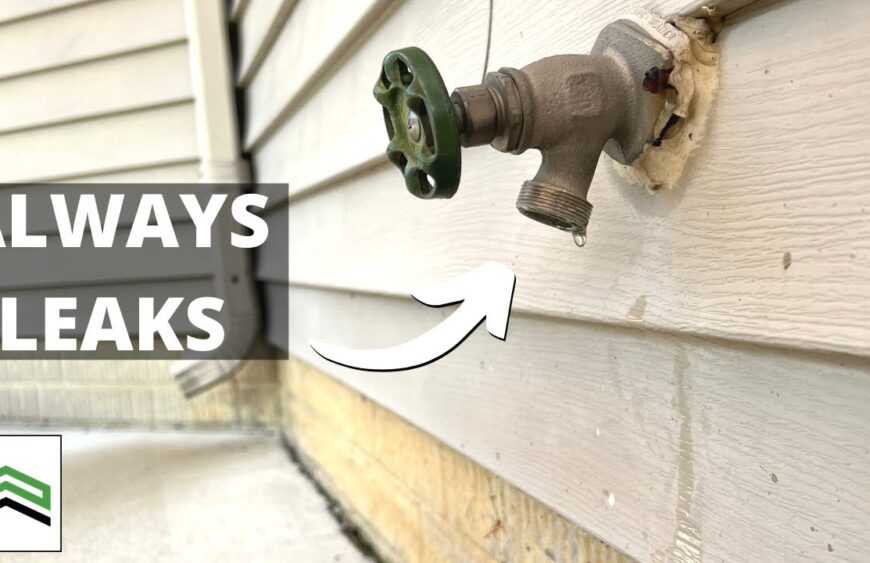
- Water leaking from the faucet – if water is dripping or leaking from the outdoor faucet, this is a sure sign that it is broken or leaking.
- Water pressure is reduced – if the water pressure from the outdoor faucet is significantly lower than other faucets in the house, it could be a sign that the faucet is broken or leaking.
- Strange noises – if the faucet is making strange noises, such as a whistling sound, this could be a sign of a broken or leaking outdoor faucet.
How to Fix a Broken or Leaking Outdoor Faucet
Fortunately, broken or leaking outdoor faucets can usually be fixed fairly easily. The following steps can help you fix a broken or leaking outdoor faucet:
Step 1: Turn off the Water Supply
The first step is to turn off the water supply to the outdoor faucet. This can usually be done by turning off the shut-off valve located near the faucet.
Step 2: Remove the Old Faucet
Once the water supply is turned off, you can remove the old faucet. This can usually be done by unscrewing the mounting nuts from the underside of the faucet. Once the old faucet is removed, you can inspect it for any damage or wear and tear.
Step 3: Install the New Faucet
The next step is to install the new faucet. This can usually be done by attaching the new faucet to the mounting bracket and tightening the mounting nuts. Once the new faucet is installed, you can turn the water supply back on and check for leaks.
Step 4: Test the Faucet
Once the new faucet is installed, you should test it to make sure it is working properly. You can do this by turning on the water and checking for any leaks or issues with the water pressure.
Conclusion
Broken or leaking outdoor faucets can be a nuisance, but they can usually be fixed fairly easily. By following the steps outlined above, you can quickly and easily fix a broken or leaking outdoor faucet.